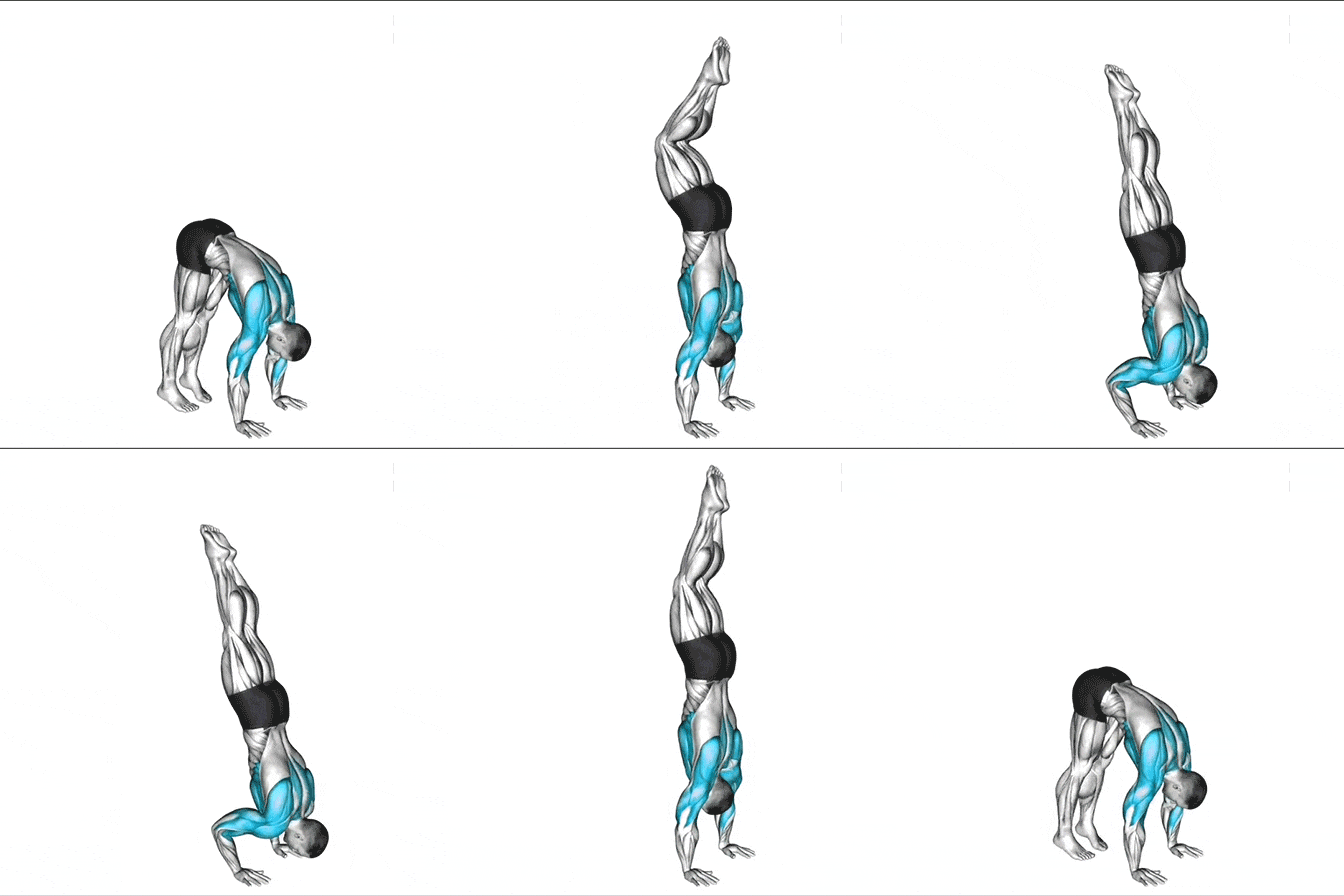
Handstand Push-Ups: Progression and Mastery
Handstand
-
Setup Position:
- Start by setting up a clear space where you can safely perform the movement. Ideally, use a wall for support.
- Place your hands about shoulder-width apart on the floor, with your fingers spread wide for stability.
- Kick into a handstand position, making sure your body forms a straight line from head to heels. If you’re using a wall, lightly touch your feet to the wall for support.
- Keep your core engaged and your glutes squeezed to avoid over-arching your lower back.
-
The Descent (Lowering Phase):
- Start by bending your elbows to lower your head toward the ground.
- Control the descent, keeping your elbows slightly flared out at around 45 degrees (not straight out to the side). This helps with shoulder stability and avoids excessive strain.
- Aim to lower your head to the floor, keeping your body straight. Your head should touch the ground lightly without crashing down.
-
The Ascent (Pushing Phase):
- Push through your palms to extend your arms and raise your body back up to the starting handstand position.
- Keep your elbows slightly bent as you push, rather than locking them out completely.
- Maintain your body in a straight line, and engage your core and glutes to prevent your hips from sagging.
-
Breathing:
- Inhale as you lower yourself into the handstand push-up.
- Exhale as you push back up to the top.
Tips
-
Head and Neck Position:
- Don’t let your neck drop excessively when you lower into the push-up. Think about keeping a neutral neck alignment. Instead of looking straight down, focus on keeping your eyes slightly ahead of your hands.
-
Shoulder Engagement:
- When in the handstand position, engage your shoulders and "push" away from the ground to create a stable base. This helps protect your shoulder joints and makes the movement more efficient.
-
Control the Descent:
- The lowering portion of the handstand push-up can be the most difficult. Control the descent slowly and with purpose to build strength and ensure safety. Avoid letting gravity force your body down uncontrollably.
-
Avoid Arching the Back:
- Ensure your body is in a straight line from head to heels throughout the movement. Arching the back can cause unnecessary strain on your spine and hinder the effectiveness of the exercise.
-
Core and Glute Activation:
- Keep your core engaged throughout the movement to maintain body stability and protect your lower back. Similarly, squeeze your glutes to help keep your body straight during the entire push-up.
-
Proper Warm-up:
- Due to the shoulder-intensive nature of the movement, make sure you warm up your shoulders, wrists, and wrists properly before attempting handstand push-ups. Shoulder mobility drills and wrist stretches can prevent injuries.
-
Spotter or Safety Considerations:
- If you are practicing without a wall, consider having a spotter to help ensure you don’t fall over. When using a wall, ensure that you are not in a position where you could fall hard or overextend your range of motion.


