Mastering the Downward-Facing Dog Pose

Instructions
  1. Starting Position:

    • Begin on your hands and knees in a tabletop position.
    • Align your wrists directly under your shoulders and your knees under your hips.
  2. Setting Up the Hands and Feet:

    • Spread your fingers wide and press firmly into your palms, distributing weight evenly.
    • Tuck your toes under.
  3. Lifting the Hips:

    • On an exhale, lift your knees off the floor.
    • Straighten your legs as much as possible without locking the knees.
    • Send your hips up and back, creating an inverted "V" shape with your body.
  4. Aligning the Body:

    • Head: Relax your head and neck, letting them hang naturally. Gaze softly at your legs or navel.
    • Arms: Keep your arms straight but avoid locking the elbows. Rotate the upper arms outward.
    • Back: Lengthen your spine, ensuring the back stays straight rather than rounded.
    • Legs: Keep your heels reaching toward the floor (they may not touch initially) and your knees soft if needed.
  5. Holding the Pose:

    • Engage your core to support the pose.
    • Breathe deeply, maintaining the posture for 5–10 breaths or longer if comfortable.
  6. Exiting the Pose:

    • To release, lower your knees to the mat and return to the tabletop position, or transition to another pose like Child’s Pose (Balasana).
  • Tips

    • Hands and Shoulders: Avoid letting your shoulders collapse. Keep them active and away from your ears.
    • Hips: Focus on lifting your hips high rather than pushing your heels down. Over time, the hamstrings will lengthen.
    • Spine: Prioritize a long spine over straight legs. Bend your knees if your hamstrings are tight.
    • Feet: Keep feet hip-width apart and parallel to each other.
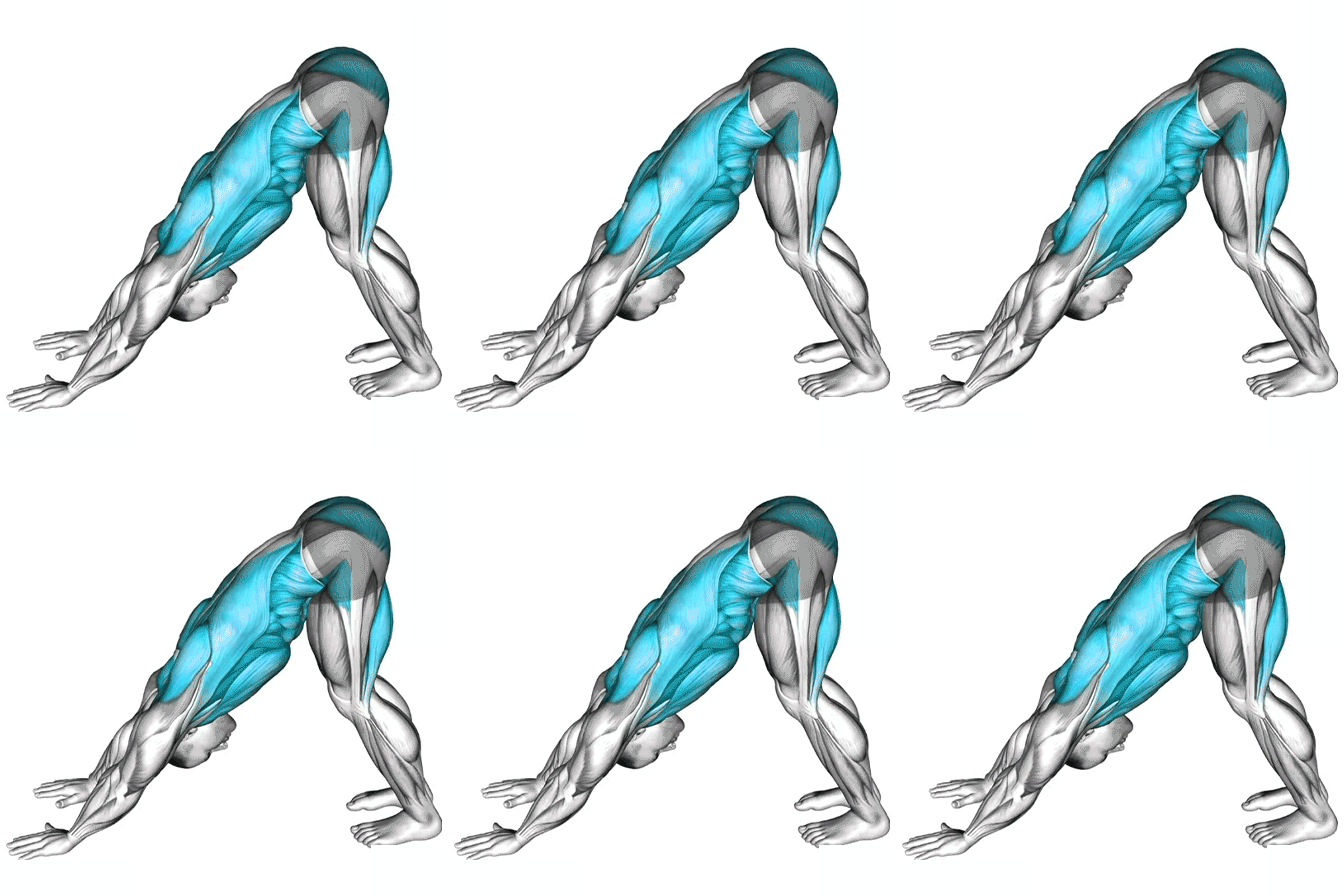
downward-facing dog, yoga, flexibility, strength, pose mastery